
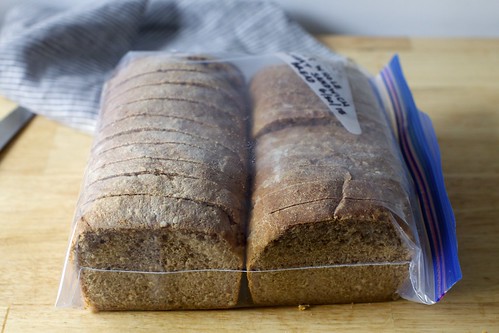
It’s a shame bread has taken a beating over the last decade or so, because there’s little on this earth — I mean, save the obvious stuff, babies in hippo onesies, world peace — that makes me happier than the aroma rolling off a slice from a freshly baked loaf. So when I went on my bender of frenetic-nesting-by-way-of-freezer meals this summer, I also made a couple loaves of sandwich bread to stash away.
I cannot recommend this enough. Even if you don’t have a kid that needed to have a sandwich packed for camp every day this summer, even if you think you’re too old for peanut butter and jelly yourself, even if you’re really trying hard not to eat too much gluten/flour/bread/carbs/or other villian-du-jour, I resolutely believe that if/when you’re going to, you might as well make it excellent.
And here’s the other thing with homemade bread; I think we’re all making it too complicated, all of these very specific amounts of yeast, water, precise rising times, vessels and right-wrong ways to knead. Although we’ve talked about this before, the bread recipes on this site are indeed guilty as charged, and while these very detailed recipes provide a blueprint for bread that works as directed just about every time (I mean, sometimes yeast is just going to be a jerk), they also make it seem harder than it is. Bread is surprisingly forgiving. So long as you don’t overheat and kill the yeast while proofing, so long as you roughly follow rising times (quite often, an extra hour on the counter or several days in the fridge won’t harm a thing), you’re going to make something excellent, something you’re going to be really proud of.
Trust me on this. Because I was a gazillion months pregnant when I made this and had all of the forgetfulness and low energy that came with it, I made the dough for these loaves and ended up leaving it in the fridge for five days before finally baking it off. It ended up being the best sandwich bread I’d ever made, deeply tender and fermented, soft with an excellent chew and a scent that you need to fill your home with ASAP. Do you need five days to make this? No, not at all. But if you only have a few minutes to put the dough together on a Monday night, you can still pop it in the oven at the end of this week and regret nothing. And then oh, the sandwiches you will have.
One year ago: Cauliflower Slaw and Cucumber Lemonade
Two years ago: Fudgy Chocolate Sheet Cake
Three years ago: Roasted Apple Spice Sheet Cake
Four years ago: Roasted Tomato Soup with Broiled Cheddar
Five years ago: Skirt Steak Salad with Blue Cheese
Six years ago: Chocolate Pudding Pie, Roasted Tomatoes and Cipollini and Cheesecake-Marbled Brownies
Seven years ago: Sour Cherry Compote, Cold-Brewed Iced Coffee, Bourbon Peach Hand Pies and Raspberry Breakfast Bars
Eight years ago: Lemon Layer Cake and Tortilla de Patatas
Nine years ago: Summer Squash Soup and Giardiniera
And for the other side of the world:
Six Months Ago: Potatoes with Soft Eggs and Bacon Vinaigrette and The Consolation Prize (A Mocktail)
1.5 Years Ago: Double Chocolate Banana Bread and Sizzling Chicken Fajitas
2.5 Years Ago: Chocolate Hazelnut Macaroon Torte
3.5 Years Ago: Carrot Cake Pancakes and Soft Eggs with Buttery Herb-Gruyere Soldiers
4.5 Years Ago: The Best Baked Spinach and Sally Lunn Bread + Honeyed Brown Butter Spread
Oat and Wheat Sandwich Bread
Adapted from Peter Reinhart’s Artisan Breads Every Day
This is my go-to sandwich bread and I find that a stash of it in the freezer makes even the most sad desk sandwich something to look forward to. The dough is quite forgiving; use more water if you want to skip the milk, or use a soy milk. Use more sugar or salt, use less. Forget what you’re doing and it will forgive you if it rises a little too long. Accidentally leave it in the fridge for the better part of a week and it will taste even better than if you’d baked it on the first day, growing more flavorful with age.
Yield: 2 standard sandwich bread loaves
5 cups (635 grams) whole-wheat flour
2 cups (160 grams) rolled oats (I used quick-cooking for the least noticable texture)
1 tablespoon kosher or coarse salt
3 tablespoons raw or brown sugar, honey or agave nectar
1 large egg
1/4 cup (55 grams grams) vegetable or olive oil, plus a little more to coat bowl
1 1/4 cups lukewarm water
1 1/4 cups lukewarm milk, any kind
1 1/2 tablespoons (about 13 grams) instant yeast
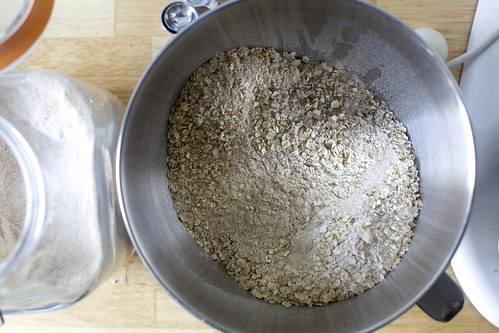
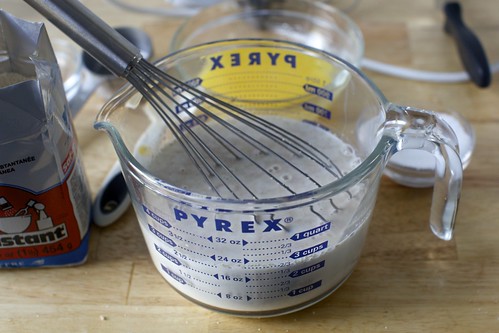
Make bread dough: In the bottom of large mixing bowl, combine water, milk and sugar or honey, then stir in yeast. Add egg and oil and whisk until combined. Add flour, oats and salt and if mixing with a machine, combine with paddle attachment at the lowest speed for 1 minute. If mixing by hand, use a large spoon and stir for 1 minute. The dough will be wet and coarse; do not fret. Let it rest for 5 minutes.
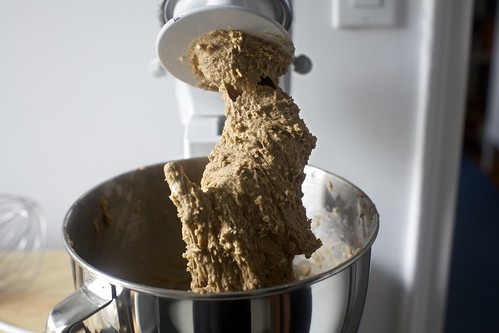
If using a mixer, switch to the dough hook and mix the dough on medium-low for 2 more minutes. By hand, do the same with your spoon. The dough will seem firm and more smooth, ideally supple and sticky, but if it’s still very wet, add a bit more flour, a spoonful at a time. If it seems excessively stiff, add a little more water, a spoonful at a time. Continue to mix with dough hook or by hand for 4 minutes.
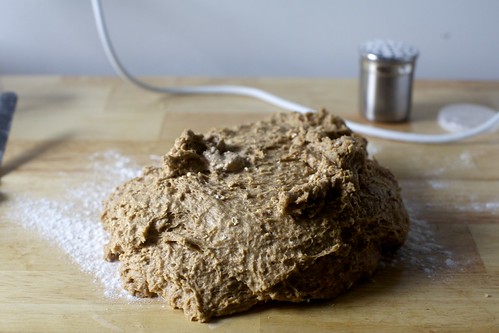
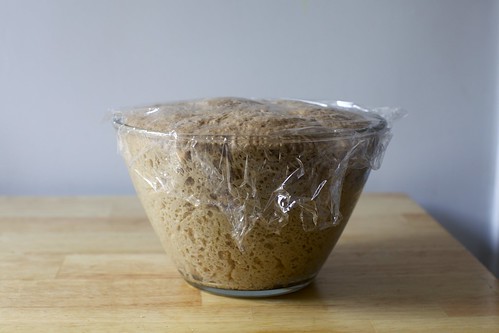
Scrape dough out onto lightly floured counter. Knead a few times, then form the dough into a ball. Oil your empty mixing bowl and return dough to it. Cover with plastic wrap and let proof at room temperature for 60 to 70 minutes, or until doubled in buik or transfer to the fridge and let it ferment overnight or up to 5 days. If proofing in the fridge, remove the dough before the fridge about 3 hours before you plan to bake it.
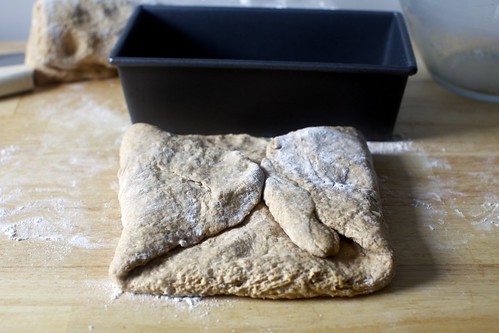
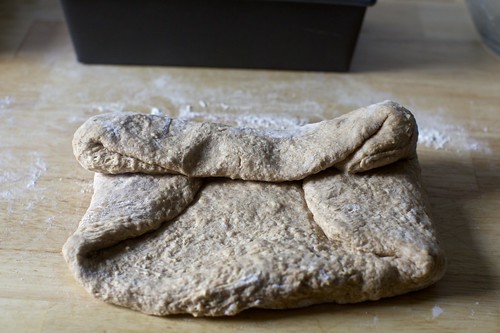
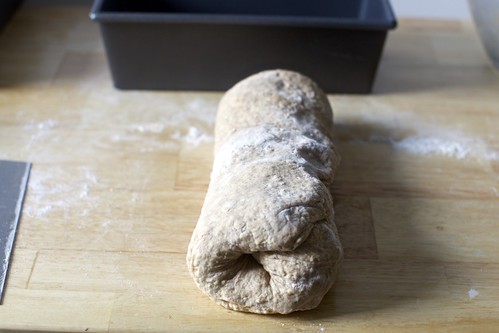
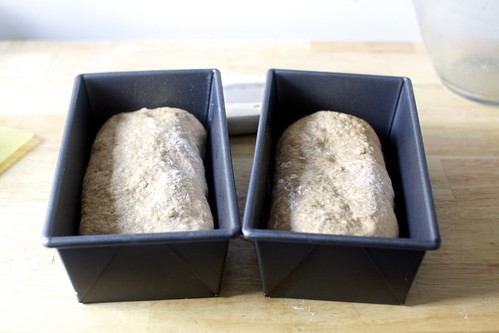
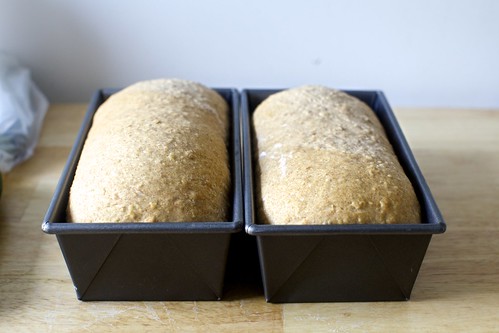
Form loaves: Turn dough onto a floured counter and divide it into two equal pieces. Press each gently into a rough rectangle-ish shape. Fold in sides so that the first dough is roughly the width of your bread loaf pan (about 9 inches). Roll from bottom to top and then put this log into your bread loaf pan, seam side down. Repeat with remaining dough. Let proof at room temperature for about an hour, or until the dough has crowned 1 inch above the rim of the baking pan. Halfway through, heat oven to 350 degrees F.
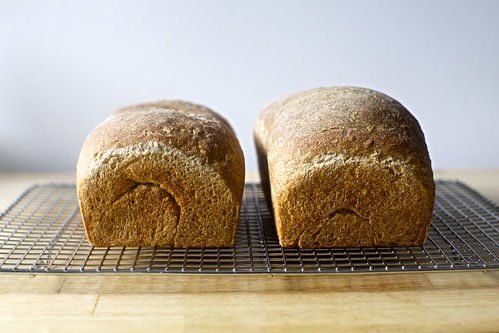
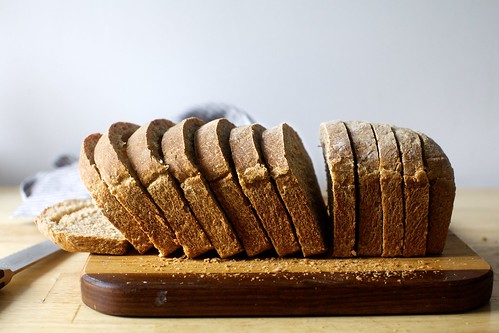
Bake bread: For 35 to 40 minutes, rotating pans once for even color. A cooked loaf of bread will sound a bit hollow when tapped and the internal temperature should read 190 degrees F. Remove loaves from tins and let cool on a rack. If you’re planning to freeze bread, I like to let it cool completely before slicing it, then sliding the sliced loaf into freezer bags. You can mark them with a date, but they rarely last long enough to be forgotten.
Source: http://feedproxy.google.com/~r/smittenkitchen/~3/16id8q0XEKQ/