Mostly because I have little interest in telling you how to part with your hard-earned money, this isn’t a gift guide. However, ahem, I do purchase a few kitchen-related items each year and thought I’d mention some of the standouts from 2016. [Here’s 2015’s list, all still in heavy rotation.] Most are remarkably basic, either because I had necessities to replace (coughclumsy) but a lot are simple just because I’m incredibly stubborn and it really has taken me this long to buy a second set of measuring cups and spoons, some aprons and a coffee-making apparatus. Not all of these may pack up well in boxes with ribbon — well, except that deliciousness at the end, of course — but I can promise you that they’re getting a lot of mileage in a heavy-use kitchen, and as always, I bought them myself.
Kitchen Things I’ve Bought That I Loved, 2016 Edition
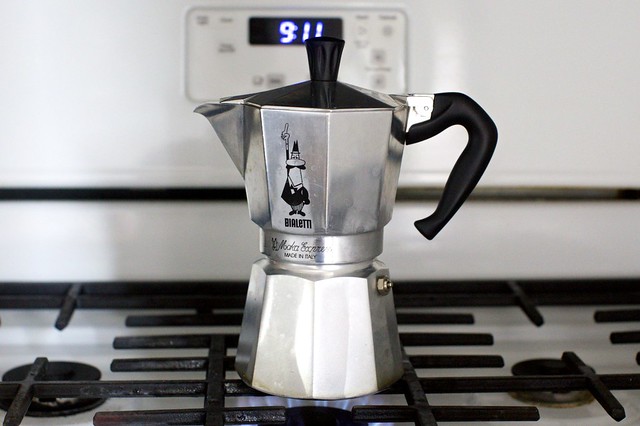

1. Coffee Maker
I don’t make coffee. My list of excuses is miles long — doesn’t ever taste right, don’t have space for anything that plugs in, my french press always left me a puddle of sludge, please don’t make me buy a pour-over kettle too, etc. — but mostly it came down to the fact that because I work from home my morning coffee stop after school drop-off is often the social highlight of my workday as well as a great time to get meetings in, plus running errands with a hot cup off coffee in your hands on a cold day makes errands many times more enjoyable. But, this became increasingly a drag and I’m so glad I came around. This coffee maker is perfect for me — it’s tiny, requires only a stovetop and is rugged — and it took me very little time to become a person who preferred my own homemade coffee to that I can buy — you get it exactly the way you like it, every time. Plus, I make a little every time I make coffee and it’s nice to know I’m wasting much less money these days.
[When I posted a Snap of this a couple months ago, I got many requests for a tutorial. Let me know if there’s interest and I can write it up. I followed many online and was still baffled about how to make half a pot, which is what I need most days, when I am solo.]Bialetti Espresso Maker, 6-Cup / Illy Medium Roast
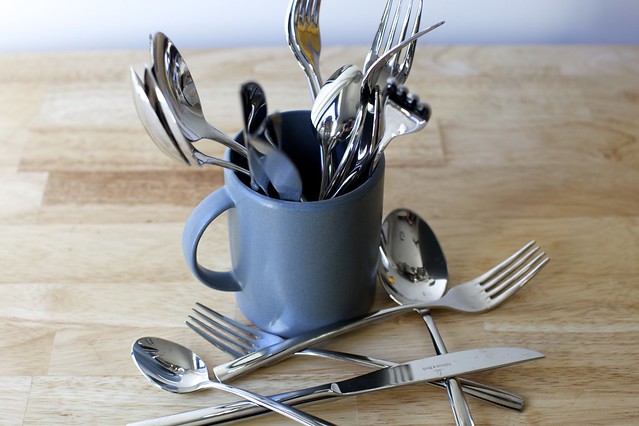
2. New, Instantly Adored Silverware
We looked for new silverware for years before finding what we were looking for at a good price and ended up feeling like we won the lottery. The knives actually cut! The teaspoon is quite tiny and thus perfect for a cup of tea or coffee, or for feeding babies. The tablespoon is perfect for soup, so scoopy! Yes, I just described a spoon as “so scoopy” in case you’re wondering why nobody hires me to write ad copy. The handles are slim, the flatware has weight but isn’t heavy. It feels classic to us, which was important as we’d prefer not to have to replace for a very long time if ever. We bought three sets but it’s already led us to inviting more than 16 people over here twice, so maybe it’s safer to just buy two.
Villeroy & Boch Piemont
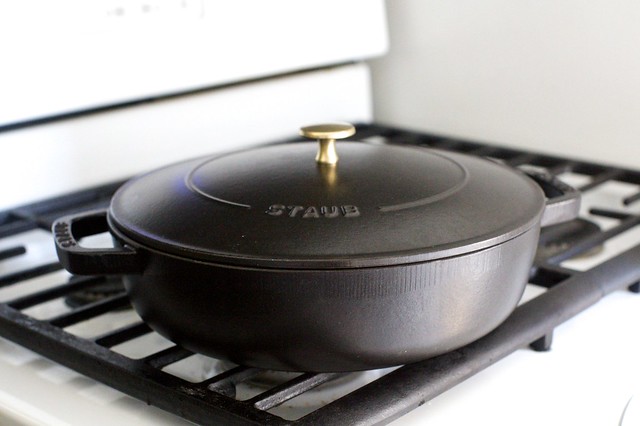
3. Braiser, aka a Squat Dutch Oven
Do you have someone who wants to buy you a fancy kitchen gift? Do you have a giant gift certificate for a kitchen supply? You should totally buy a Dutch oven. (I vote for a 5 quart for regular use and a 7/8 quart for big parties, but mostly the 5.) However, should you already have a Dutch oven or if you find it to be more voluminous or heavy than you need for it needs to be for weeknight, I am not sure I use a pot more right now than I do this 4-quart braiser, which is kind of like a shorter, squat Dutch oven. I often use it on the stovetop to saute ingredients and then transfer it to the oven for pasta bakes like this and this. It’s also great for roast chicken in parts as well as smaller quantities of soup (I made mushroom barley in it this week when my bigger pot was being held hostage by stock.) Oh, and it’s dishwasher safe (cast-iron but enameled) which totally counts around here. Mine is from Staub, but what’s key here to me is the size and use, not brand.
Staub 4-Quart Braiser on Amazon / Williams-Sonoma (on sale!) / Zwilling Online
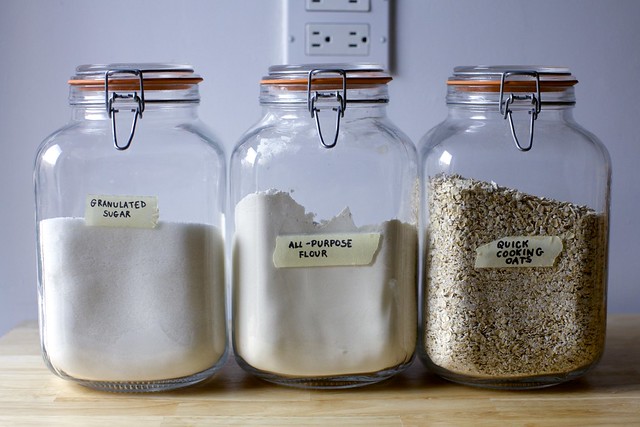
4. Canning Jar Canisters
I have had these for ages but due to an extra clumsy year, I got to buy more! Still, though, they’re minimalist workhorses. I keep sugar, all-purpose flour and other canister-sized dry goods in them; I always know how much I have left (sadly does not always translate to remembering to buy refills when at stores, but they’re jars, not miracles). I love that they’re airtight with gasket lids and dishwasher safe. They’re a little tight for a 5-pound bag of flour — it just makes it with a little shimmying — but are otherwise perfect and the squared shape means they fit more tightly together in the cabinet. I had no trouble using 6 but if that’s too many for you, I suggest finding a friend to split the order with. Everyone has to put their stuff in something, right?
Borgonovo 145-ounce Jars on Amazon / Walmart / and more
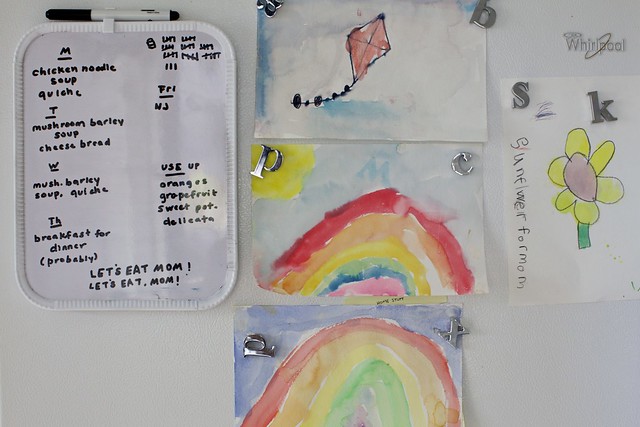
5. Menu Planning Board
I am not, sadly, not much of a planner. I don’t do a big batch of prep cooking on Sundays although I know I should. But this board is pushing me in the right direction. I find it impossible with it in front of me to not to make something of a plan, even if it’s just reminding myself we have squash to use up or too much eggs, or that my son requested burgers this week. I’m sure there are prettier options out there, but this basic wipe-off board is doing the trick for us.
8 1/2 x 11-inch Wipe-Off Board
6. Aprons
While I’m confessing things: I only began wearing aprons to cook in the last year. I usually just wore clothes I didn’t care about while so I hope you’re sitting down when I drop this earth-shattering knowledge bomb: Whoa, it turns out aprons really make life easier. My current rotation is fittingly high and low: a monogrammable workhorse (mine says DEBOTCHKA) I bought from Williams-Sonoma 10 years ago that’s held up insanely well (still black, even, although the caveat is that it only went into heavy rotation this year); a Game of Thrones geek one my husband got me when I was super-pregnant (it still closed!) and my most recent purchase, a bit more of an investment but I can’t help it, I’m a sucker for stretchy chambray.
[Note: I bought the regular one but if you or someone you know, ahem, is a bit busty, I spoke to the company and they recommended their cross-back aprons for a better fit. I will know this for next time.]Mother Of Dragons / Williams-Sonoma / Hedley & Bennett
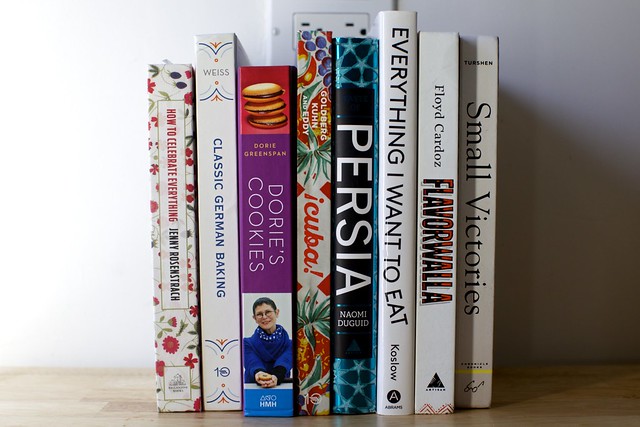
7. Some New Cookbooks To Escape Into
Last year’s cookbooks were tuned exclusively to the theme of wanderlust. This year, there’s some wanderlust and a lot of comfort as well as reminders of all the small victories and triumphs worth celebrating. It’s a happy batch and I’m enjoying them immensely.
How To Celebrate Everything / Classic German Baking / Dorie’s Cookies / Cuba! / Taste of Persia / Everything I Want To Eat / Flavorwalla / Small Victories
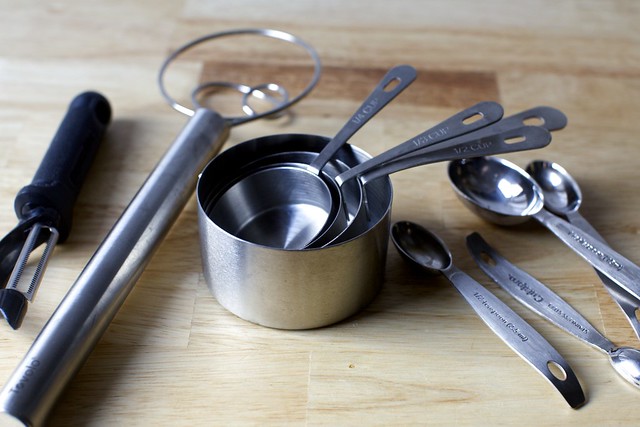
8. A Few Small Things
The serrated peeler is something a commenter told me about years ago; it’s perfect for peeling thin-skinned stuff like tomatoes and peaches. Yes, I know you can drop them in boiling water for 10 seconds and slip the skins off but that’s a lot of work for 1 or 2. This is not. I don’t know where my old one went but I replaced it this year.
The dough whisk is great for mixing thick, heavy doughs — like for bread! I have a stand mixer with a dough hook but I’m too lazy to drag it out most of the time for just a pizza dough or smaller project.
Finally, I decided after 10+ years of cooking and two cookbooks that I was finally allowed to buy a second set of measuring cups and spoons. (These are my old ones, which I’ve been very happy with.) Cook’s Illustrated informed me that these are the most accurate. I like that the narrower spoons fit more easily into small jars.
Messermeister Serrated Peeler / Tovolo Dough Whisk / Amco Measuring Cups / Cuisipro Measuring Spoons
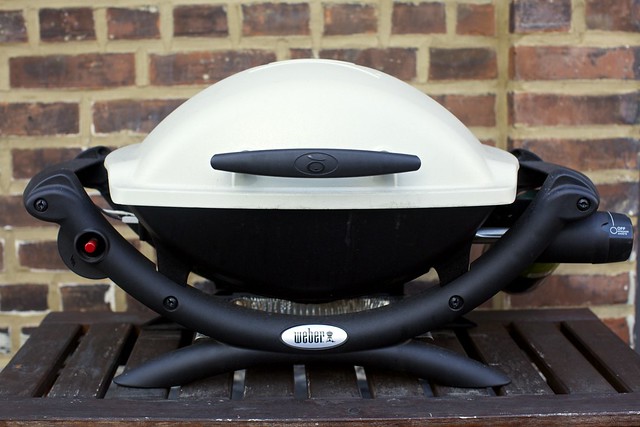
9. One Tiny Grill
This spring, we decided we’d had enough of having an outdoor space and no fire-breathing apparatus to exercise our America-given right to burn food on in the summer months and brought home the tiniest, safest and most docile grill ever manufactured, basically the fluffy kitten of the barbecue landscape. Sure, I’d like a big green egg or even something that uses briquettes one, but as for something to hold us over until then, this has been surprisingly wonderful. Even the most unexciting dinner — sausages, chicken cutlets, a heap of zucchini to use up — tastes 100% more exciting and summery when it’s cooked outside.
Tiny Weber Grill
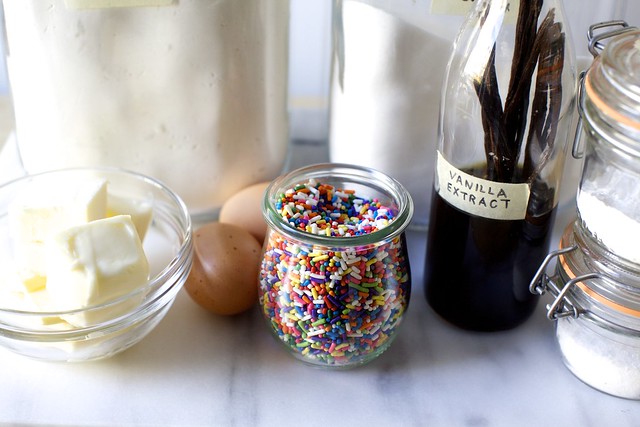
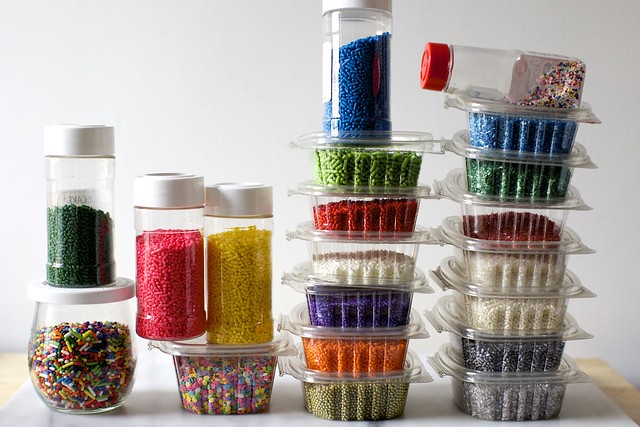
10. A Lot of Sprinkles
Okay, maybe not everything I bought were “essentials.” What do you do when the baking supply store is out of the rainbow sprinkles you like and only have dreadful combinations that lack blues and greens or, worse, include brown? Well, you get what you can and move on. That’s not what happened to me, though, and though I do not in any way advise this madness, I instead bought a container of red, orange, yellow, light green, dark green, blue, purple and white and made my own, and I regret nothing. (My mix, by the way, 1 part of each to 2 parts white; the white makes all the colors pop and was surprisingly essential.) I also upgraded my chocolate sprinkles this year from brown-colored wax, basically, to actual chocolate and now we’re ruined especially if my son figures out that other kids get to eat chocolate-sprinkled buttered toast for breakfast.
Various Sprinkles / Real Chocolate Sprinkles
But all of this is just burying the lede, seriously, because this right here is my new favorite homemade candy for gifting or eating, possibly forever. You are not going to believe how easy these are to make, yes, even with a step that involves making caramel. But not the difficult kind! No thermometer is required. The entire sum of ingredients here is sugar, water, almonds, salt, chocolate (chips are fine) and cocoa, sprinkles or sanding sugar to finish.


I set out to make a grown-up candy, the kind that hits the spot at say 4 p.m., keeps almost indefinitely and requires no special machinery. This is loosely inspired by those chocolate-covered almonds at Trader Joes. My favorite, however, are the ones with the caramel crunch underneath but I rarely see them and even when I do, the caramel never has any salt, much to my disappointment because the salty-sweet crunch against dark chocolate and toasty almonds is, to me, essential.
Chocolate Caramel Crunch Almonds
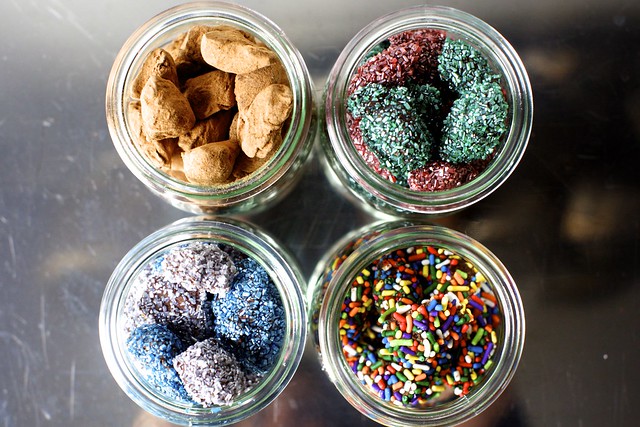
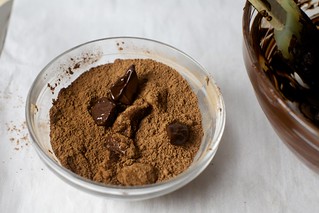
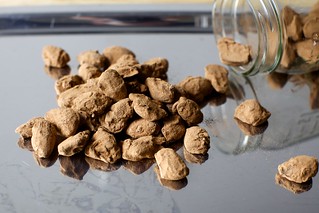
My original plan was to coat these all in cocoa powder, truffle-style. I had assumed that once the chocolate was set, I could shake the cocoa-coated almonds in a sifter or mesh sieve until the excess cocoa had shaken off. It wasn’t a resounding success; mine still felt dusty to the touch in the end and as these are really not very sweet — just a thin, thin shell of caramel and chocolate — I wanted more sugar outside.
My favorite coating was sanding sugar because the crunch is ideal here, even more ideal than classic sprinkles, which have less crunch.
Roasted almonds are just fine here so long as they’re not very dark already. (It’s very rare to buy roasted almonds that are.)
- 1 cup (200 grams) granulated sugar
- 1/2 cup (120 grams) water
- 1 1/2 cup (205 grams or 7 1/4 ounces) whole almonds
- 1/2 teaspoon flaky salt
- 8 ounces (225 grams) semi- or bittersweet chocolate, chopped, or 1 1/3 cups chocolate chips
- Approximately 1/2 cup cocoa powder, sanding or coarse sugar or sprinkles to coat
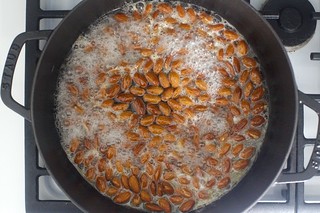
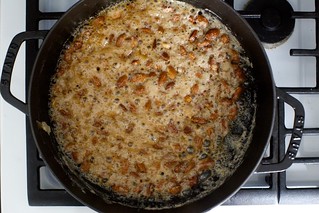
In a heavy-bottomed 3 to 4-quart saucepan, bring sugar and water to a simmer. Add almonds and stir to coat them in the syrup.
Very brief instructions: You are going to simmer the almonds in the sugar syrup over medium heat until it caramelizes.
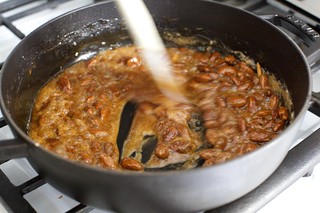
Detailed instructions/descriptions: As the water evaporates in the sugar syrup, it will become thicker and soap-like bubbles will form. Once the liquid has fully evaporated, it will become sandy and you will think something has gone wrong; it has not. Continue stirring and the sandiness will dissolve into a bronzed but clear liquid; this is the caramel. At this point, you can remove the pan from the heat and the residual heat in the pot should be enough to finish melting the sugar again as you continue stirring. Should it not be melting, however, just put it back over the flame for 20 to 30 seconds while you stir. Repeat as needed. In a couple minutes, the melted sugar will coat the almonds completely.
Stir in salt and spread almonds in a single layer on prepared sheet, separating them as much as possible.
Set in freezer — or, outside, if it’s really cold — for a few minutes until cold and hard. This will take all of 5 minutes in the freezer. Break caramel into individual nuts; don’t worry about rough edges.
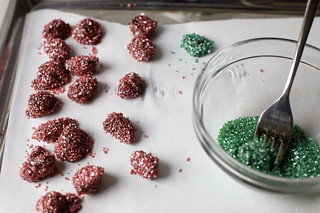
You can go ahead and use this parchment or baking mat-covered tray again. Place cocoa, sugars, sprinkles and any other coatings in individual bowls. Have a few forks around to help roll the almonds through it.
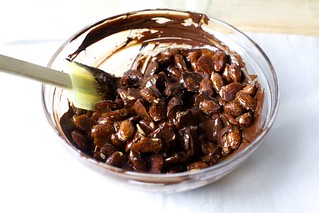
To coat caramelized almonds in chocolate: Melt chocolate 3/4 of the way in a large bowl, then stir to let it melt the rest of the way using the residual heat in the bowl.
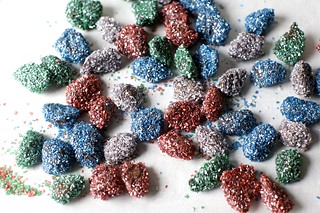
Pour caramel-coating almonds into melted chocolate and stir several times to coat evenly. Use forks to pluck almonds one by one out of chocolate bowl and drop into coating of choice. Roll almonds until coated and spread out to set on prepared baking sheet. Repeat with remaining almonds.
Once again, you can set these quickly in the freezer (or outside, on a very cold day), this time give it 10 to 15 minutes.
To finish/pack up: Once almonds are set, they’re ready to be boxed or bagged. These keep months at room temperature.
Source: http://feedproxy.google.com/~r/smittenkitchen/~3/Jm10vfGkkxE/